


Archive for February, 2012
Feb
15
As with everything else, you must move forward and take advantage of new technology and methods. With the lengths that WordPress and theme creators have gone to it is now very easy to use WordPress as a Content Management System (CMS). Therefore I have decided to can the old static, difficult to modify, website created through Photoshop and turned into just images and simple HTML. In the coming weeks or months, as time permits, I will be transforming jarootfarms.com into a new website, hopefully more feature rich, user friendly and visually appealing. Until then I have moved the blog to the root directory and I will continue to update and post in it.
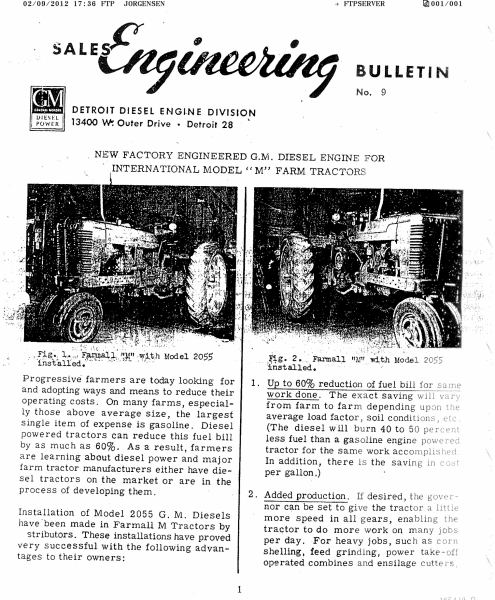
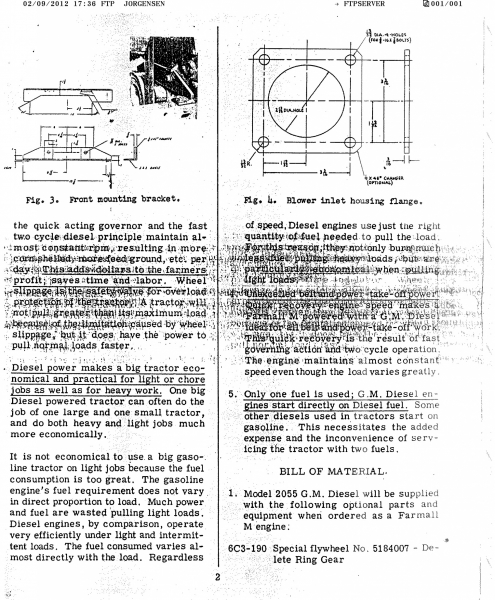
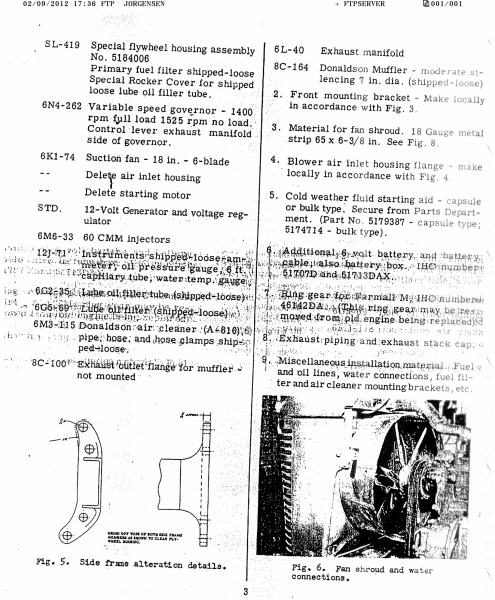
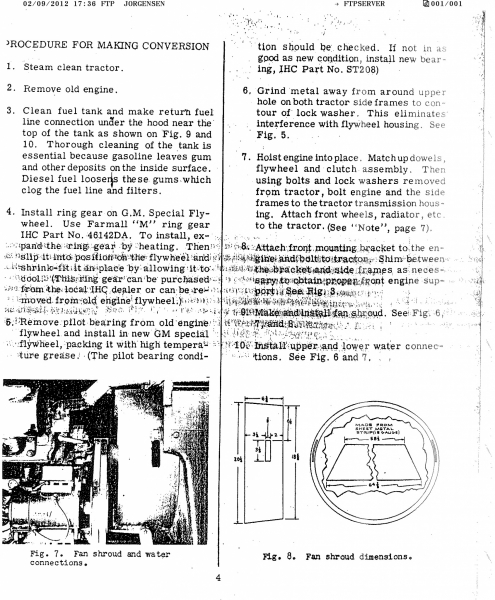
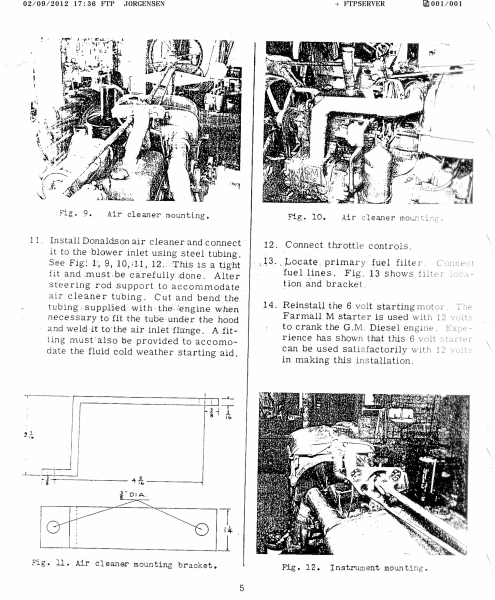
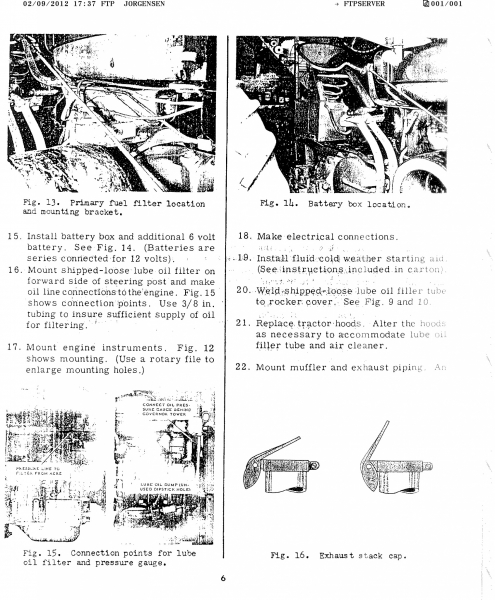
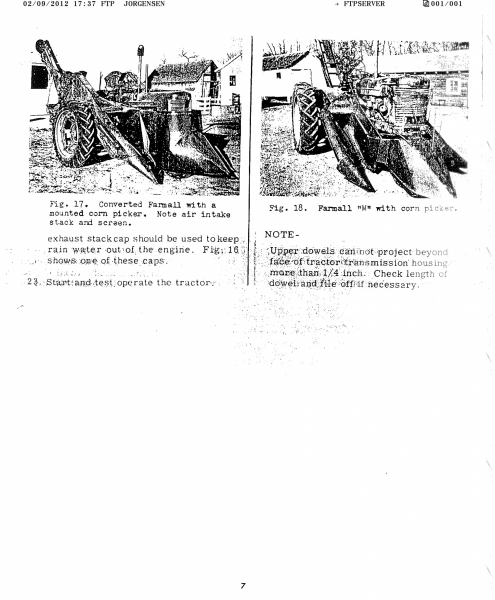
The following pages are poor photocopies of the original installation instructions for the GM diesel retrofit into a Farmall M. There is a lot of speculation, misinformation and mystery surrounding this GM offering. Hopefully this will help to clear up lingering questions and possibly aid others who wish to search for correct components to install one of these little 71’s into their own Farmall. Elsewhere I have instructions from GM for installing other 71’s tractors such as the Farmall F20 and the Case LA. When I happen to come across them I will digitize those also. If anyone has original instructions, paperwork and brochures I’d be interested in purchasing them.
There is a decal applied over the original paint on the left side of the fuel tank of my M. When the tractor was repainted part of the decal, mainly the edges, were sanded away as was some of the lettering and the whole thing painted over. I have been slowly working to remove the paint and primer so that I can read what is beneath. Right now I can make out the second and third lines which read; “The Farm Equipment Co” and “Detroit Grand Rapids”. I can slightly make out the last word of the top line but I am afraid that most of the top line has been sanded through enough substrate of the decal to remove the lettering. I need to investigate methods to see if I can highlight lettering as I really need to be able to read the top line to determine the company name. I am assuming this may be the company that originally sold OR installed the 2-71 into this Farmall.
You can open the images in another window to view them full size.
Houston we have a problem… This thing has too much compression and the stock M starter just doesn’t have enough go-nads. Result; she won’t spin over. That is what I’ve been fighting for the last week. A weak starting system.
Once I had the engine buttoned up I could easily spin her over by the fan and pistons, valves and cylinder head all cleared each other (thank God). I set the injectors to 1.460 and set valve lash, cold, at .013. I went through the manual procedure to determine how the engine was timed without taking it apart and the results say that the engine is timed “straight up” or standard. One more round on the torque wrench to make sure everything was tight (190 ft-lb isn’t a picnic on those cylinder head bolts) and we were ready to see if she’d run.
The engine turned over but slowly. Then the standard push button solenoid sparked, smoked, glowed and I can still smell the thing as it is lying on the shop floor. I thought, for sure, that the starter was shorted somewhere internally and was just drawing too much current. My load tester and multi meter both said the battery was good and fully charged and all of my battery cables measured nearly zero resistance. So I pulled the starter and disassembled it. The commutator has nothing left to turn off of it so the armature is toast. But I didn’t find any internal issues other than that.
To systematically eliminate issues I robbed a starter off of my other M, which I know is good and installed it. Still no joy. Replaced battery cables with larger ones. Still no Joy. Installed a standard automotive 4 post solenoid to remotely actuate teh starter with a remote button and finally I robbed the 2nd (new) 965 CCA battery from the 560 Diesel and put her into service on the M. Finally she spun over and to my surprise the little Detroit came to life. The little engine must have been full of fuel from turning it over continuously because it wet stacked and blew raw fuel all over the shop ceiling, the tractor, me and everything else in a 10 foot radius and filled the shop with smoke. I could have killed every mosquito for a half a mile if this had been Summer.
I let her run for a minute and then killed her. After that the battery was getting a little low and the starter rather hot and I never was able to spin it fast enough to get it to catch again. Time for a starter with more oomph. This though is turning out to be more challenging than I had anticipated. Short of some pricey starter put together to turn over big inch M pulling tractor engines there isn’t anything commercially available. Being the never satisfied engineer that I am…. I am now on a mission to “cobble” together a later, more powerful, starter from something like a 560 Diesel so that it will fit the M bell housing and ring gear. So we need to find a motor that will accept the 2 bolt nose cone and M bendix and spin CCW… That will be another “how to” post once I get it worked out and proven. I have a spare D350 starter from a Super WD9 that we’ll be experimenting with next week and a few other starters of various flavors to do the same with. So stay tuned for this continuing journey.
When I left off with the last post I had torn the little Detroit down and discovered 2 different liners installed in the engine. Both of these liners were of oval port style but the ports were different heights. One liner was an early small oval port (.703 tall) and the second was a 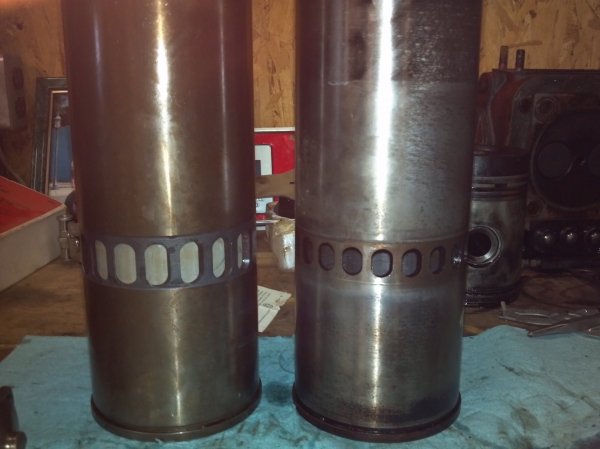 later small oval port (.810 tall) according to my inline 71 manual. Both pistons were of the non fire ring style and the rings, compression as well as oil control, were very worn. It is really no wonder this engine didn’t start very well. At some point this engine must have had an “oopsie” because the #2 rod is a replacement as well as the #2 injector rocker. The crank has also been turned .010 under on the rods at least (I did not pull a main). The rod bearings are fairly new and don’t exhibit any wear.
Since I am putting late long port (1.050) N liners in this engine I was concerned with air box to port shrouding. This engine block S/N is 2A18830 which would make it an earlier engine, somewhere around 1949 or 1950 without looking at a serial number chart. When measuring the air bo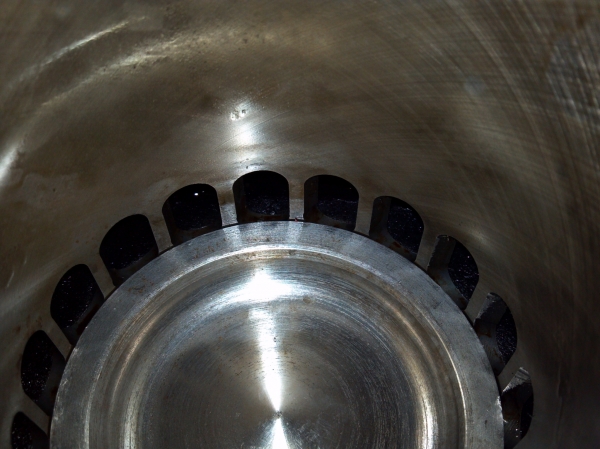 x opening I was surprised to discover that the casting measured just a touch over 1 inch in height the entire circumference on both holes. Both holes were round and consistent according to the bore gauge and both were stamped #1 on the deck. At this point I came into some luck was very fortunate to acquire two new standard OD tall port N liners and 18.7:1 fire ring pistons. These are factory Detroit Diesel and were still NIB packed in cosmoline and included the rings, wrist pins and pin retainers.
The counter bores in my block (a low block btw) measure right at .248 with my depth mic and my liner lips measure .250 so no shimming was required. After checking ring gap and side clearance I assembled everything and staggered per manual, oil the pistons & rings lightly and loaded them into the liners from the bottom. Everything slid easily into each bore as they should with only a bit of drag.
Once I had the rod caps on and torqued the situation became interesting. The pistons were above the liner @ TDC and were partially shrouding the bottom radius of the ports @ BDC. Investigation and question asking time. The low block is 1/16 inch lower than the high 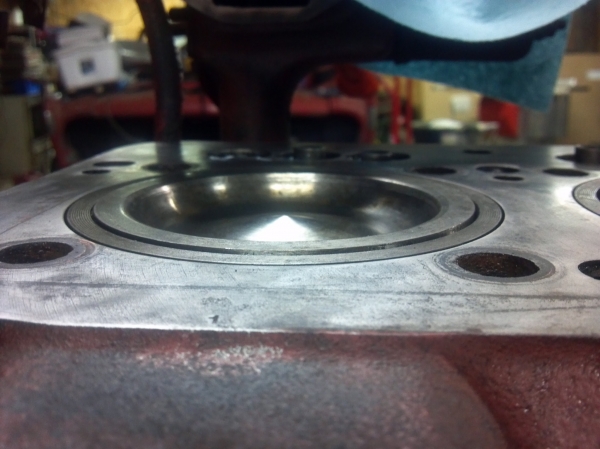 blocks that the tall port N liners and pistons are meant for. In a low block the liner sits in the C-bore and proud of the deck. On a high block engine the C-bore is deeper and a spacer ring is used to set liner height. This was done to eliminate the requirement for a shim type head gasket used on the low block engines. High block engines used a compression ring and o-rings to seal the deck to head. According to the depth mic my pistons were .040 above the deck (.038 above liner). The head gasket when compressed is roughly 1/16 (.063). Thus, I have a quench distance of .025 inches (.063 – .038).
Apprehensive I moved forward and inspected the cylinder head and valves. Everything was nice a tidy in the head and someone had installed valve seats to recess the valves so they are no more than .006 above the gasket surface of the head. This is required to run N liners on a 2 valve head to avoid “contact” with the piston. Finally last night I put the cylinder head back on and broke out my big torque wrench. 190 ft – lb later and I was ready to spin the engine over BY HAND. Without injectors installed I could turn the engine over without difficulty by the fan and everything cleared in a cold state.
Tonight I should have it buttoned up, oiled and the fuel system bled and we’ll see if she will come to life.

